Follow Me On Social Media!

Chocolate Haupia Pie: The Best Copycat Recipe You’ll Love
Introduction to Chocolate Haupia Pie (Ted’s Bakery Copycat)
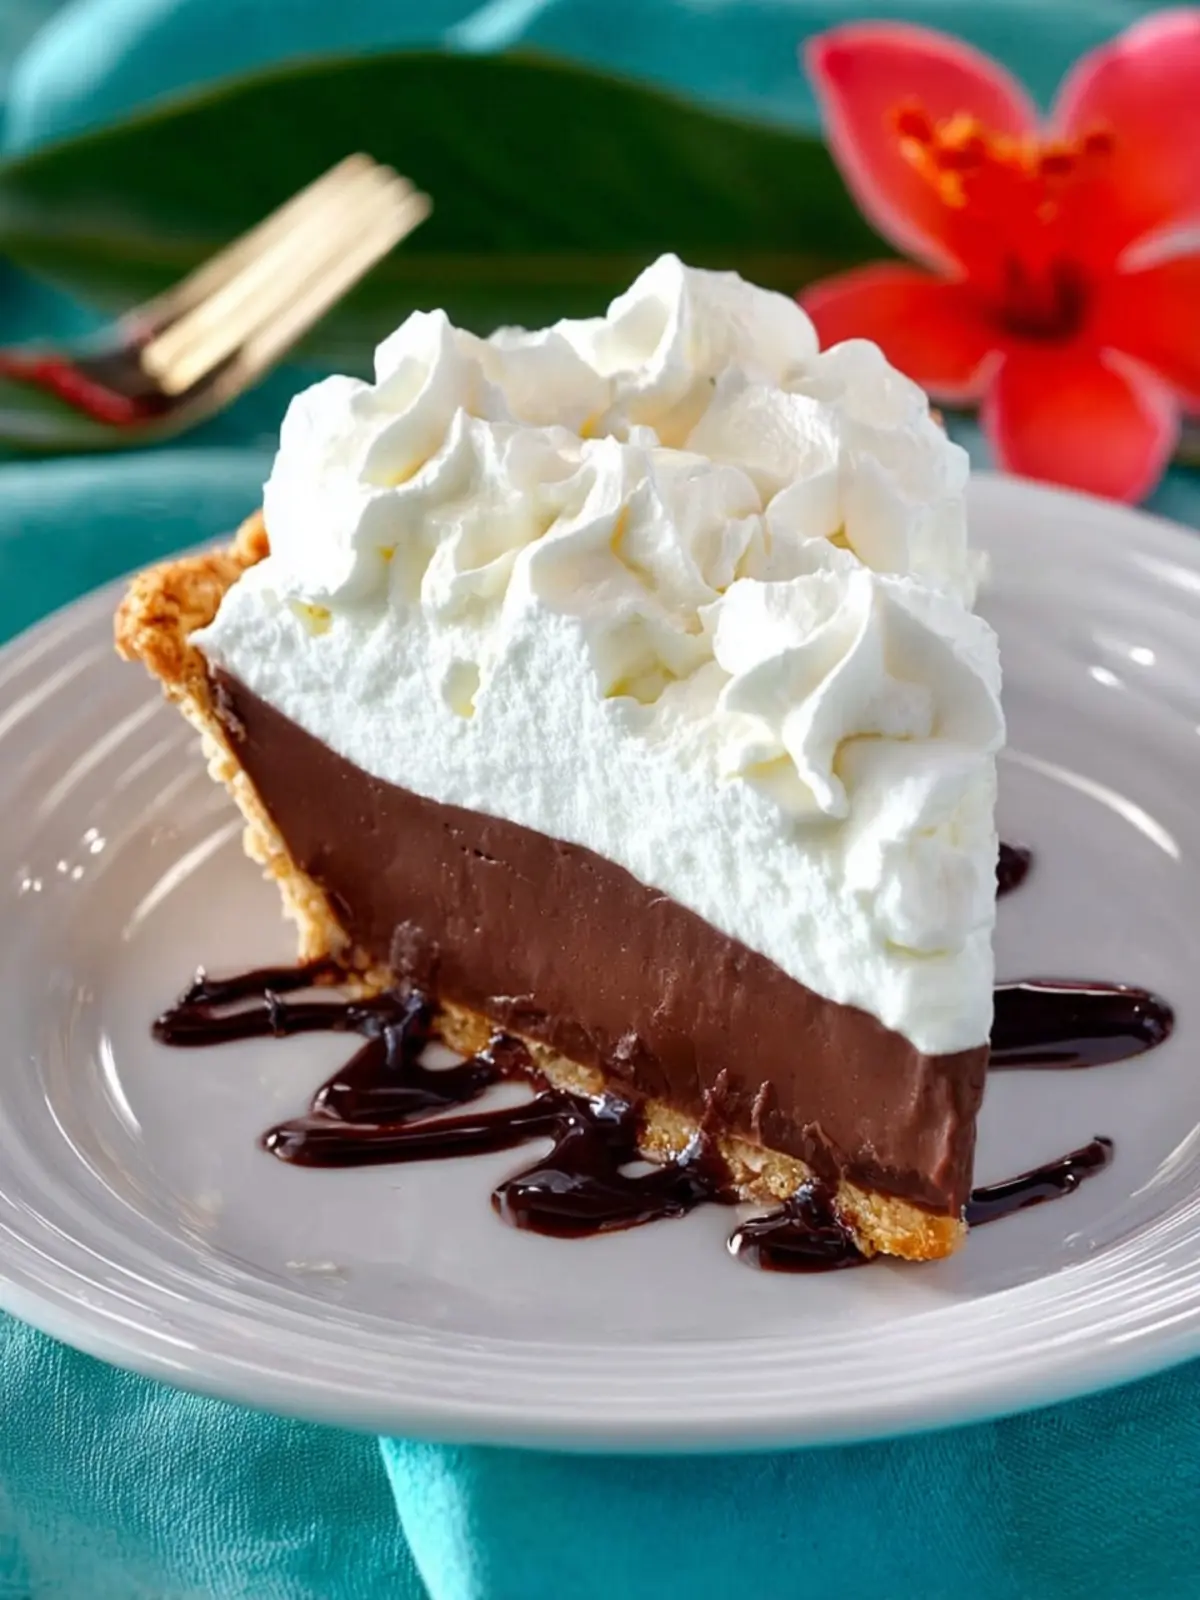
There’s something undeniably delightful about a slice of Chocolate Haupia Pie, a dessert that transcends its simplicity to deliver a burst of tropical flavors and creamy textures. Originating from Ted’s Bakery on the beautiful North Shore of Oahu, this pie has captured the hearts (and taste buds) of many who have had the pleasure of encountering it. It is more than just a dessert; it’s a nostalgic taste of Hawaii that calls back memories of sun-soaked days and warm evenings under the stars.
So, what is it about this Chocolate Haupia Pie that makes it so special? First, the combination of rich, velvety chocolate pudding and luscious coconut haupia creates a stunning contrast that is both visually appealing and satisfying to the palate. Each bite is a delightful interplay of flavors and textures—the creamy chocolate and coconut layers resting on a crisp, buttery crust.
The pie isn’t just about taste; it also embodies the spirit of Hawaiian culture. The haupia layer is a traditional coconut pudding that is often served at luaus and festive gatherings. By bringing this classic dessert into your kitchen, you not only indulge your sweet tooth but also honor a beloved part of Hawaiian heritage.
Moreover, this Chocolate Haupia Pie is incredibly customizable, inviting you to add your own twist. Whether you want to experiment with different crusts or introduce a splash of vanilla to the haupia layer, the variations are endless. This pie is a beautiful canvas that reflects the creativity and joy of baking.
In this article, I’ll guide you step-by-step on how to recreate this beloved dessert at home, ensuring that every slice you serve brings a smile to those who taste it. So, roll up your sleeves and get ready for a delightful adventure in your kitchen!
Key Ingredients for Chocolate Haupia Pie
Creating a delicious Chocolate Haupia Pie is not just about combining ingredients—it’s about bringing flavors to life. Each component has its own role to play, contributing to that mouthwatering blend of creamy, chocolatey goodness.
-
Chocolate Milk: For a rich and decadent flavor, I always reach for whole chocolate milk. It infuses the filling with a deep cocoa taste that makes every bite a chocolate lover’s dream. If you’re aiming for that authentic taste, skip the low-fat versions.
-
Coconut Milk: The star of the haupia layer! Using full-fat coconut milk grants the pie a luscious and creamy texture that transports you straight to the tropics. This ingredient is the heart of what makes Chocolate Haupia Pie so special.
-
Sugar: Granulated sugar sweetens both the chocolate and coconut layers, balancing flavors beautifully. I find that just the right amount builds layers of taste without overwhelming the palate.
-
Cornstarch: This is essential for thickening the haupia layer. It helps create that perfect pudding-like consistency that sets beautifully as the pie chills.
-
Graham Cracker Crust: I love using a buttery, homemade graham cracker crust for added depth. The combination of sweetness and slight saltiness pairs perfectly with the rich filling.
Each ingredient plays a crucial role in crafting this delightful dessert, ensuring that your Chocolate Haupia Pie will be a hit at any gathering!
Why You’ll Love This Recipe
The allure of Chocolate Haupia Pie lies in its perfect harmony of flavors and textures, making it a standout dessert for any occasion. Drawing inspiration from the beloved Ted’s Bakery, this dessert brings a slice of Hawaiian paradise right to your kitchen.
A Heavenly Combination
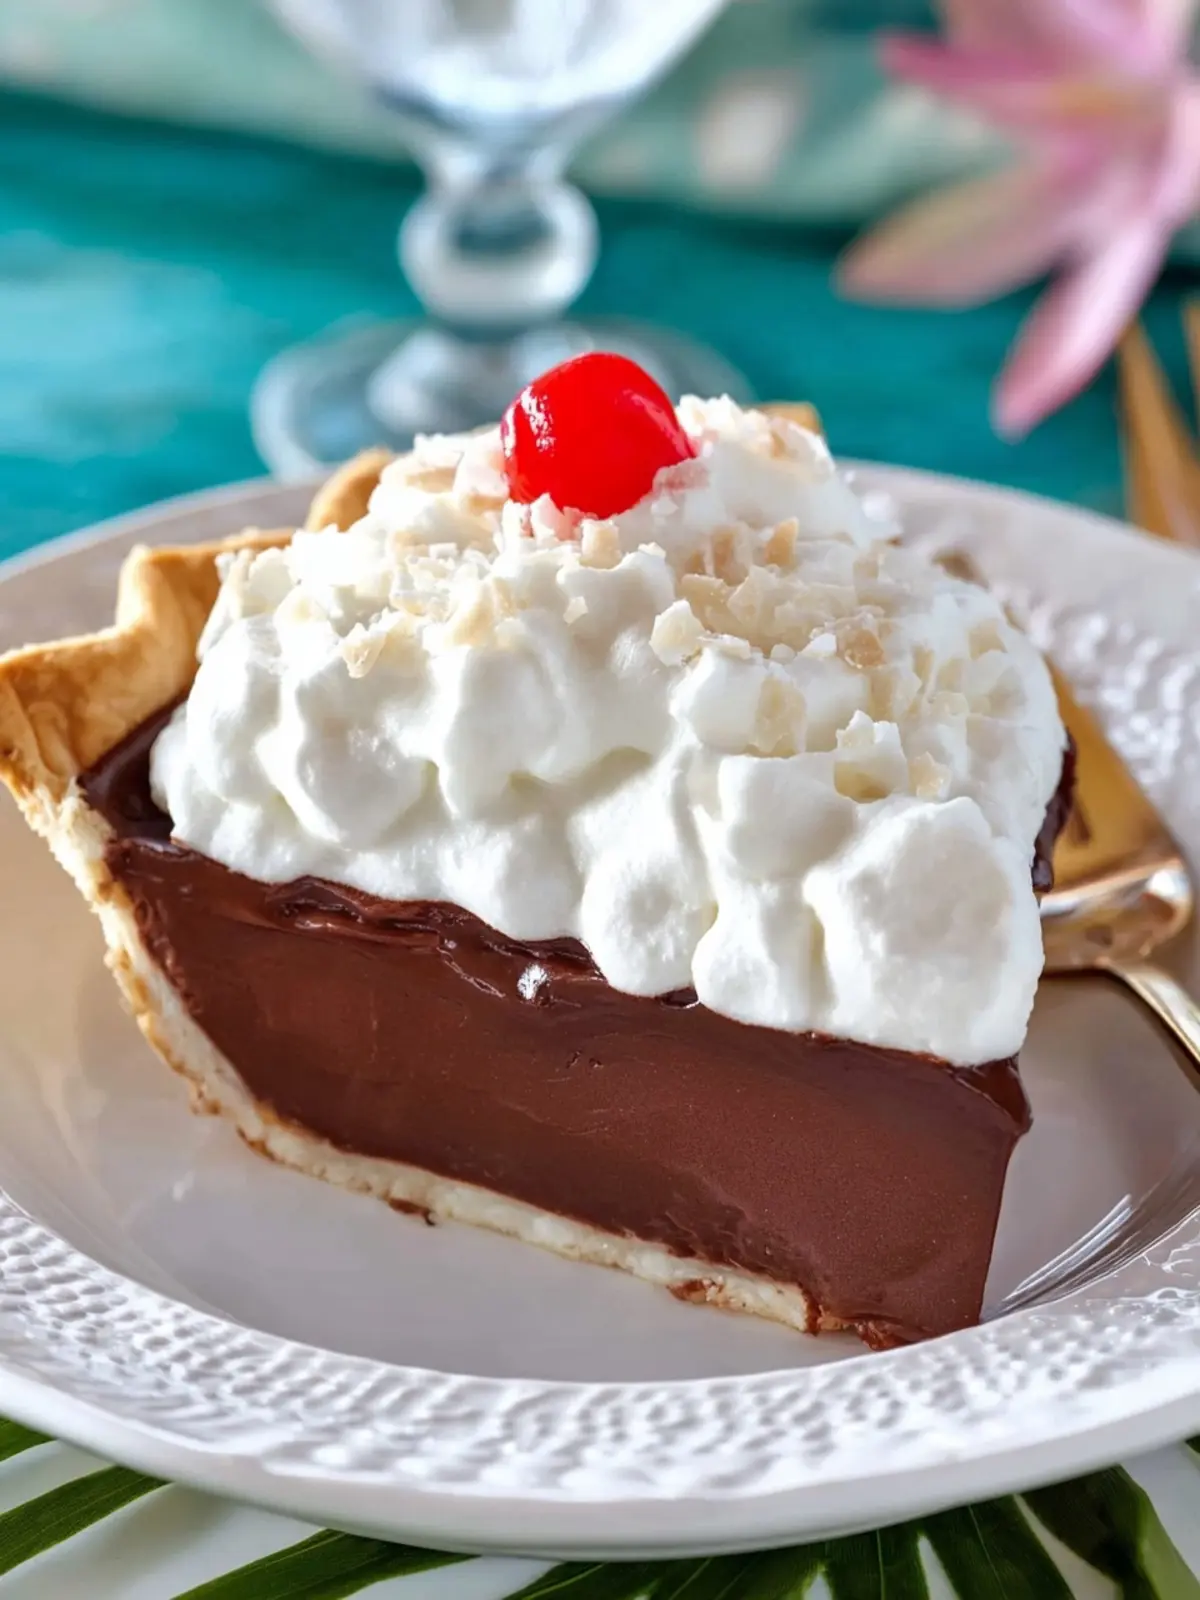
What truly sets this recipe apart is the delightful pairing of rich chocolate and creamy coconut. The luscious chocolate layer is satisfyingly decadent, while the haupia, a traditional Hawaiian coconut pudding, adds a refreshing lightness that keeps each bite from feeling heavy. Imagine slicing into a chilled pie, revealing that beautiful contrast between rich and creamy—it’s a sight that promises pure indulgence.
Simplicity Meets Satisfaction
Even if you’re not a seasoned baker, this Chocolate Haupia Pie is approachable. The ingredients come together with ease, and the results are so rewarding. You’ll impress your friends and family with minimal effort and maximum flavor. Plus, it’s a great make-ahead option, letting you enjoy it at gatherings or simply as a well-deserved treat after a long week.
A Slice of Nostalgia
For those of us who’ve had the pleasure of visiting Ted’s Bakery, this pie evokes sweet memories of sunny beaches and carefree days. Recreating this dessert not only brings that joy into your home but also creates new memories with every slice enjoyed.
Variations on Chocolate Haupia Pie
The world of Chocolate Haupia Pie opens up a delightful realm of possibilities. While the classic recipe celebrates the luscious harmony of chocolate and coconut, experimenting with variations can introduce exciting flavors and textures that elevate the experience. Here are a few fun ideas to get your creative juices flowing:
-
Nutty Delight: Add a layer of toasted macadamia nuts for a crunchy texture that complements the creamy pie. The rich flavor of the nuts can enhance the coconut’s sweetness.
-
Berry Bliss: Incorporate fresh berries, such as strawberries or raspberries, into the chocolate layer. These fruits add a tangy contrast that cuts through the richness and provides a burst of color.
-
Minty Twist: Infuse the chocolate layer with peppermint extract or top with a sprinkle of crushed mint candies. This refreshing addition can transport your taste buds to a new level.
-
Caffeinated Boost: Mix espresso powder into the chocolate filling for a mocha twist. The coffee enhances the chocolate flavor while adding an invigorating edge.
Feel free to mix and match these ideas with your Chocolate Haupia Pie recipe for a unique spin that caters to your tastes!
Cooking Tips and Notes
Creating a Chocolate Haupia Pie takes a blend of technique and a sprinkle of creativity. As you embark on this delicious journey, here are some handy tips to elevate your pie-making game.
Pie Crust Perfection
For the Chocolate Haupia Pie, a flaky crust is essential. If you’re pressed for time, using a pre-made graham cracker crust can be a lifesaver. However, making your own gives you a distinct edge in flavor and texture. Chill your crust before baking to ensure it stays crisp.
Mastering the Haupia Layer
Achieving the perfect haupia consistency is key. When mixing your coconut milk with the cornstarch, whisk continuously to avoid lumps. Remember, patience is your friend here; let it thicken over medium heat, and don’t rush. If you prefer a sweeter haupia, feel free to adjust the sugar to taste—just take care not to overwhelm the delicate coconut flavor.
Chocolate Ganache Secrets
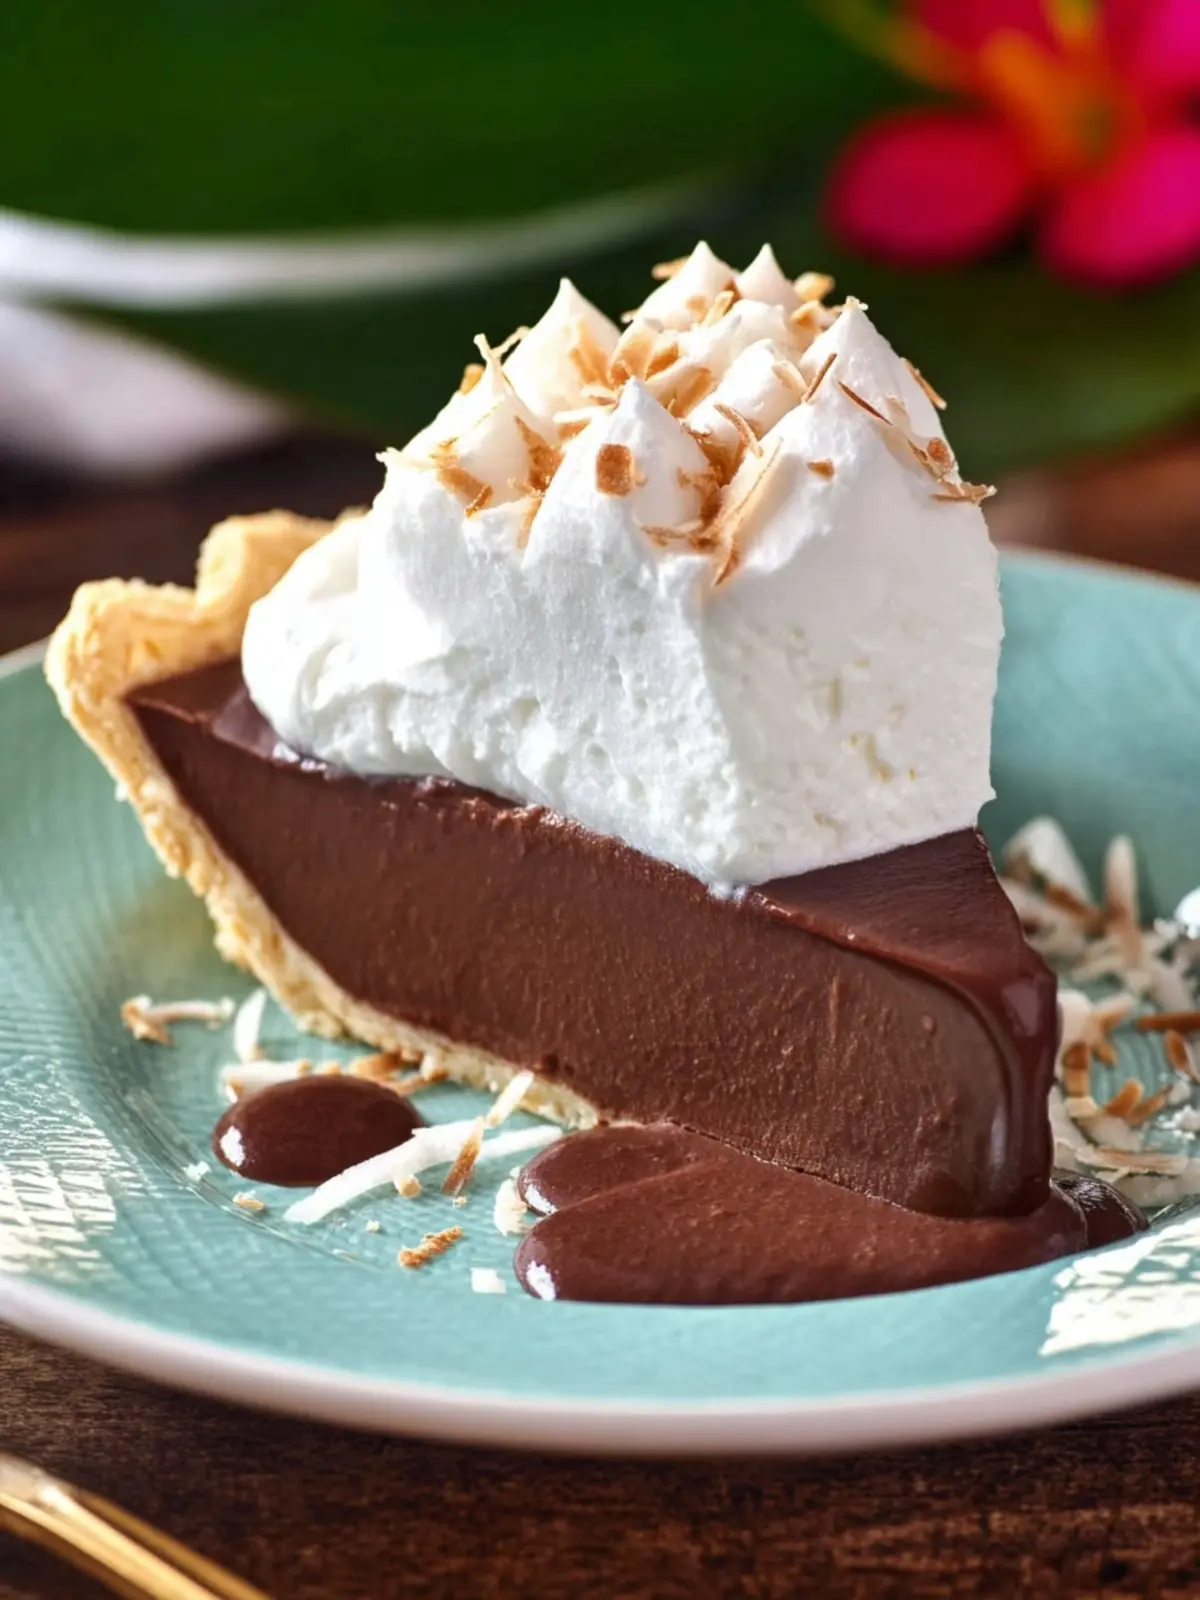
For the chocolate ganache, using high-quality chocolate makes all the difference. Chop it finely to aid in melting, and let it cool slightly before pouring it over the haupia layer. This prevents melting the layer underneath, ensuring clean, distinct layers when served.
Topping Ideas
Consider topping your Chocolate Haupia Pie with freshly whipped cream or toasted coconut for added texture and flavor. A sprinkle of sea salt can also enhance the chocolate’s richness. Enjoy the creative process and make it your own!
Serving Suggestions for Chocolate Haupia Pie
Bringing Chocolate Haupia Pie to the table is only the beginning of the experience! To elevate this delightful dessert even further, consider these serving suggestions that add a unique twist and charm.
Pair with Fresh Fruit
Served alongside a medley of fresh berries or tropical fruits like mango or kiwi, our Chocolate Haupia Pie becomes a vibrant centerpiece. The fruit’s tartness perfectly balances the rich chocolate and creamy haupia.
Go for a Whipped Cream Topping
A dollop of freshly whipped cream adds an indulgent touch. Consider folding in a splash of vanilla extract or a hint of coconut syrup for an extra layer of flavor that complements the pie beautifully.
Create a Dessert Platter
Transform your pie into part of a dessert platter! Slice the Chocolate Haupia Pie and serve it alongside various chocolates, coconut macaroons, or even a scoop of vanilla ice cream. This creates an inviting atmosphere for your guests.
Remember, the joy of Chocolate Haupia Pie isn’t just in the eating; it’s in the experience of sharing it loved ones. Enjoy!
Time Breakdown for Chocolate Haupia Pie
When you decide to indulge in a delicious Chocolate Haupia Pie, every moment spent in the kitchen is a step toward a delightful dessert experience. Here’s a quick guide to help you manage your time effectively for this heavenly treat.
Preparation time
Set aside about 20 minutes to gather ingredients and whip up the flavorful chocolate and haupia layers.
Cooking time
You’ll need around 30 minutes to cook the fillings and prepare the crust. It’s a good time to enjoy the enticing aroma of chocolate wafting through your home!
Cooling time
Allow the pie to cool for at least 2 hours. This step is crucial to ensure that the layers set perfectly.
Total time
From start to finish, you’re looking at approximately 2 hours and 50 minutes to enjoy your Chocolate Haupia Pie, but trust me, the wait is well worth it!
Nutritional Facts About Chocolate Haupia Pie
Indulging in Chocolate Haupia Pie is like taking a sweet trip to Hawaii, where creamy coconut meets rich chocolate. But beyond its delightful taste, it’s good to know what you’re enjoying nutritionally.
Calories
A single slice of Chocolate Haupia Pie typically contains around 300 calories, making it a delightful yet rich dessert option.
Fat
This pie has about 18 grams of fat per slice, most of which come from the creamy filling and buttery crust. While it’s a treat, keep in mind moderation is key!
Carbohydrates
Each slice boasts approximately 35 grams of carbohydrates, providing a quick energy boost. With a mix of sugar and the natural sweetness from coconut, this pie beautifully balances indulgence with comfort.
Enjoying Chocolate Haupia Pie is truly a delightful experience, as long as you savor it thoughtfully!
FAQ about Chocolate Haupia Pie
When you indulge in a slice of Chocolate Haupia Pie, you’re not just enjoying a dessert; you’re savoring a delightful blend of flavors that tells the story of Hawaiian culinary traditions. Before diving into the recipe, let’s address some common questions you might have.
Can I use a different crust for this pie?
Absolutely! While the classic recipe calls for a traditional graham cracker crust for that perfect crunch, you can switch it up to suit your taste. Consider using an Oreo crust for a chocolatey twist, or even a shortbread crust if you prefer something more buttery. Just keep in mind that different crusts may lead to variations in flavor and texture.
How long does the pie last in the refrigerator?
Once you whip up your Chocolate Haupia Pie, it can last about 3 to 5 days in the refrigerator. Just make sure to cover it well with plastic wrap or store it in an airtight container to maintain its freshness. It’s often said that the pie gets even better after a day or two as the flavors meld together!
Can I freeze Chocolate Haupia Pie?
Yes, you can freeze your Chocolate Haupia Pie! Wrap it tightly in plastic wrap, then in aluminum foil for added protection against freezer burn. When you’re ready to enjoy it, thaw it in the refrigerator overnight. While the texture may be slightly different after freezing, it’ll still be delicious!
Feel free to experiment and enjoy every slice of your Chocolate Haupia Pie adventure!
Conclusion on Chocolate Haupia Pie
In wrapping up our adventure with Chocolate Haupia Pie, it’s clear why this dessert is a beloved classic, especially in Hawaiian culture. As you savor each bite of the luscious chocolate layer combined with the silky haupia coconut filling, you might find yourself dreaming of tropical sunsets. This pie is not just a treat; it’s an experience that evokes warmth and joy, perfect for sharing with friends and family. By following this recipe, you’ll not only create a tasty masterpiece but also a delightful memory. So, roll up your sleeves and bring this fabulous Chocolate Haupia Pie to your next gathering, and watch the smiles spread!
Print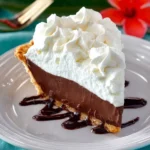
Chocolate Haupia Pie
- Total Time: 6 hours 50 minutes
- Yield: 8 servings 1x
- Diet: Vegetarian
Description
A luscious pie combining creamy coconut haupia and rich chocolate for a delightful dessert.
Ingredients
Scale
- 1 (9-inch) pie crust (store-bought or homemade)
- 1 ½ cups whole milk, divided
- 5 tablespoons cornstarch
- 1 (14-ounce) can unsweetened coconut milk (not fat-free or light)
- 1 cup granulated sugar
- 1 cup semi-sweet chocolate chips
- 1 ½ cups heavy whipping cream
- ¼ cup sugar
- ½ teaspoon coconut extract (optional)
Instructions
- Generously pierce the crust with a fork before baking.
- Bake according to recipe or according to package directions, until golden brown. Remove from the oven and allow the crust to cool.
- In a liquid measuring cup or small bowl, combine ½ cup whole milk and cornstarch. Mix until cornstarch is dissolved. Set aside.
- In a medium-sized saucepan over medium heat, whisk together the remaining 1 cup of whole milk, coconut milk, and sugar. Bring to a simmer, whisking often.
- Stir the cornstarch mixture once more before slowly adding to the coconut milk mixture, whisking constantly. Continue whisking until the mixture becomes thick, like a thick pudding. (This coconut milk pudding is the haupia.) It is very important that the mixture is thick before moving to the next step.
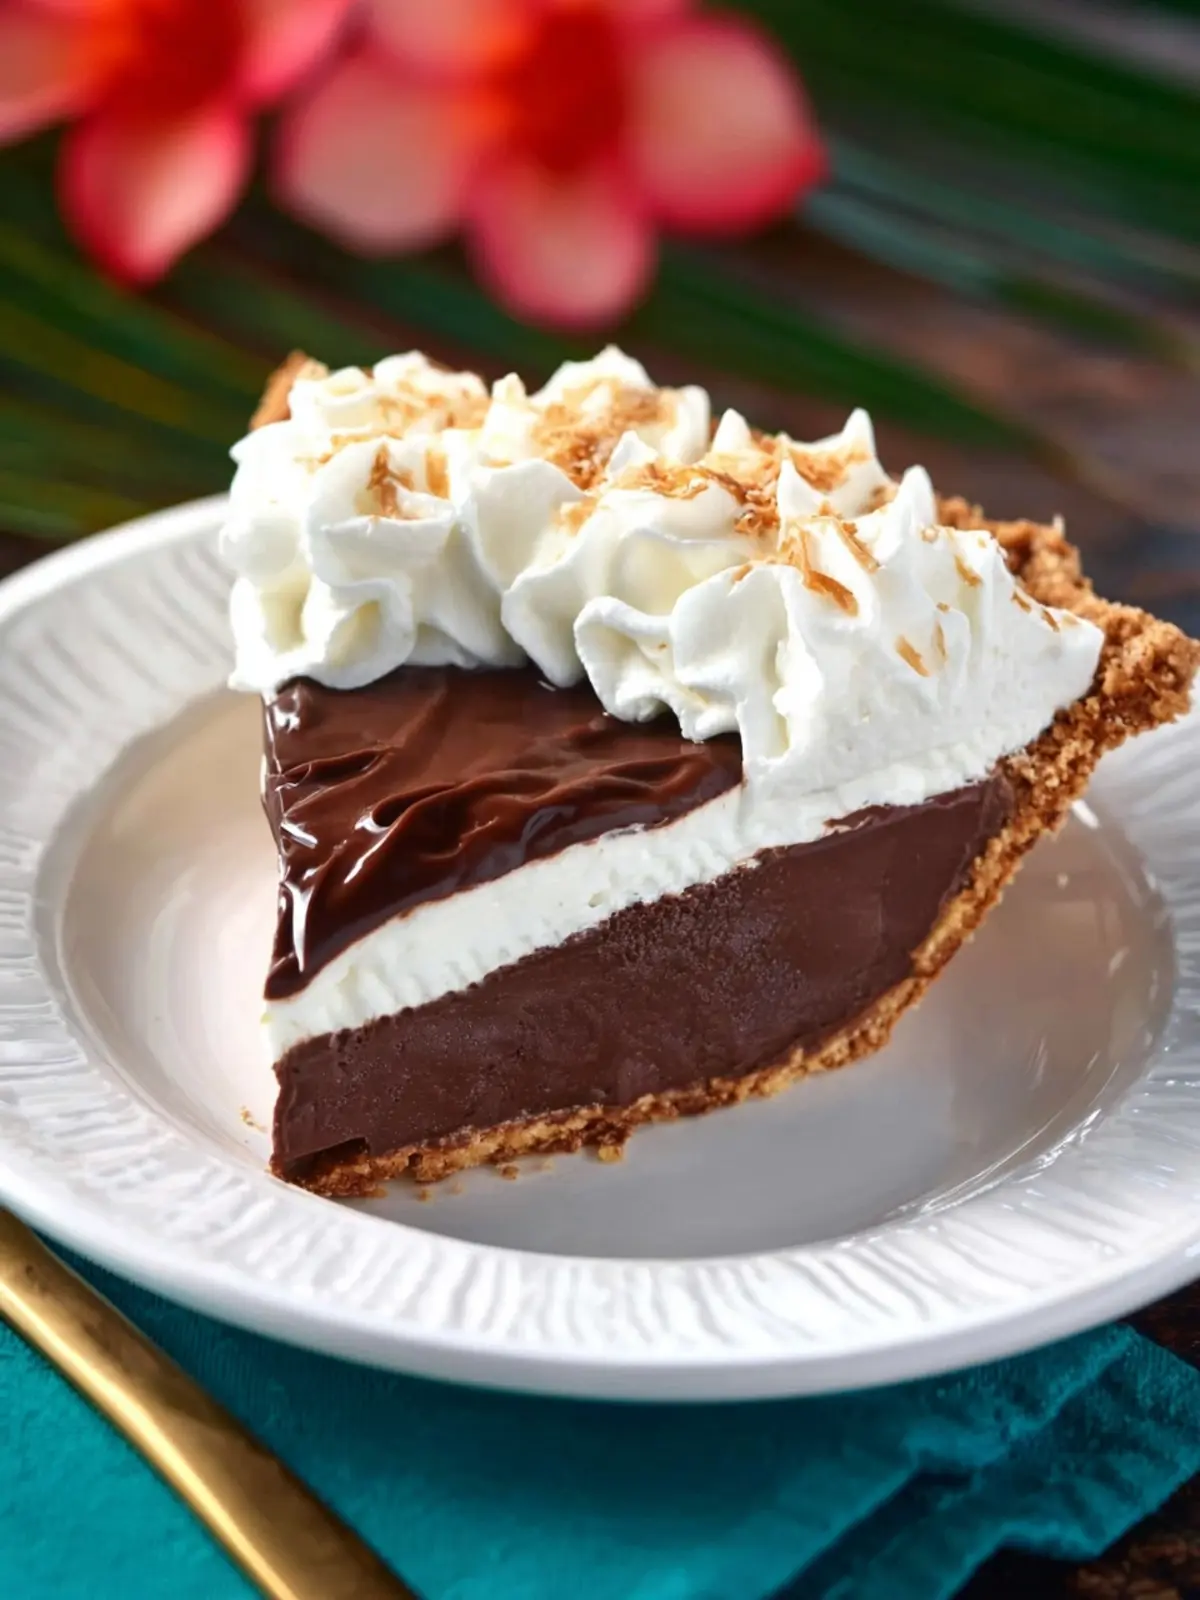
- Place about half of the haupia mixture into a separate bowl and set aside. Add chocolate chips to the remaining mixture in the saucepan and stir until the chocolate chips are completely melted and well combined.
- Add the chocolate haupia mixture immediately to the cooled pie crust and smooth with a spatula until even.
- Carefully add the remaining haupia mixture over the top and carefully smooth over until even.
- Cover and refrigerate for 6 hours.
- To make whipped cream, whip heavy cream and sugar until stiff peaks form. Add coconut extract and whip for 30 more seconds.
- After the pie has cooled, cut into slices and top with whipped cream topping. You can use a piping bag fitted with a large star tip to pipe the whipped cream in a design over the top.
Notes
- Make sure to use unsweetened coconut milk for the best flavor.
- For a decorative finish, use a piping bag with a star tip for the whipped cream.
- This pie can be made a day in advance for easier preparation.
- Prep Time: 20 minutes
- Cook Time: 30 minutes
- Category: Dessert
- Method: Baking
- Cuisine: Hawaiian
Nutrition
- Serving Size: 1 slice
- Calories: 450
- Sugar: 28g
- Sodium: 180mg
- Fat: 30g
- Saturated Fat: 18g
- Unsaturated Fat: 10g
- Trans Fat: 0g
- Carbohydrates: 45g
- Fiber: 2g
- Protein: 4g
- Cholesterol: 80mg