Follow Me On Social Media!


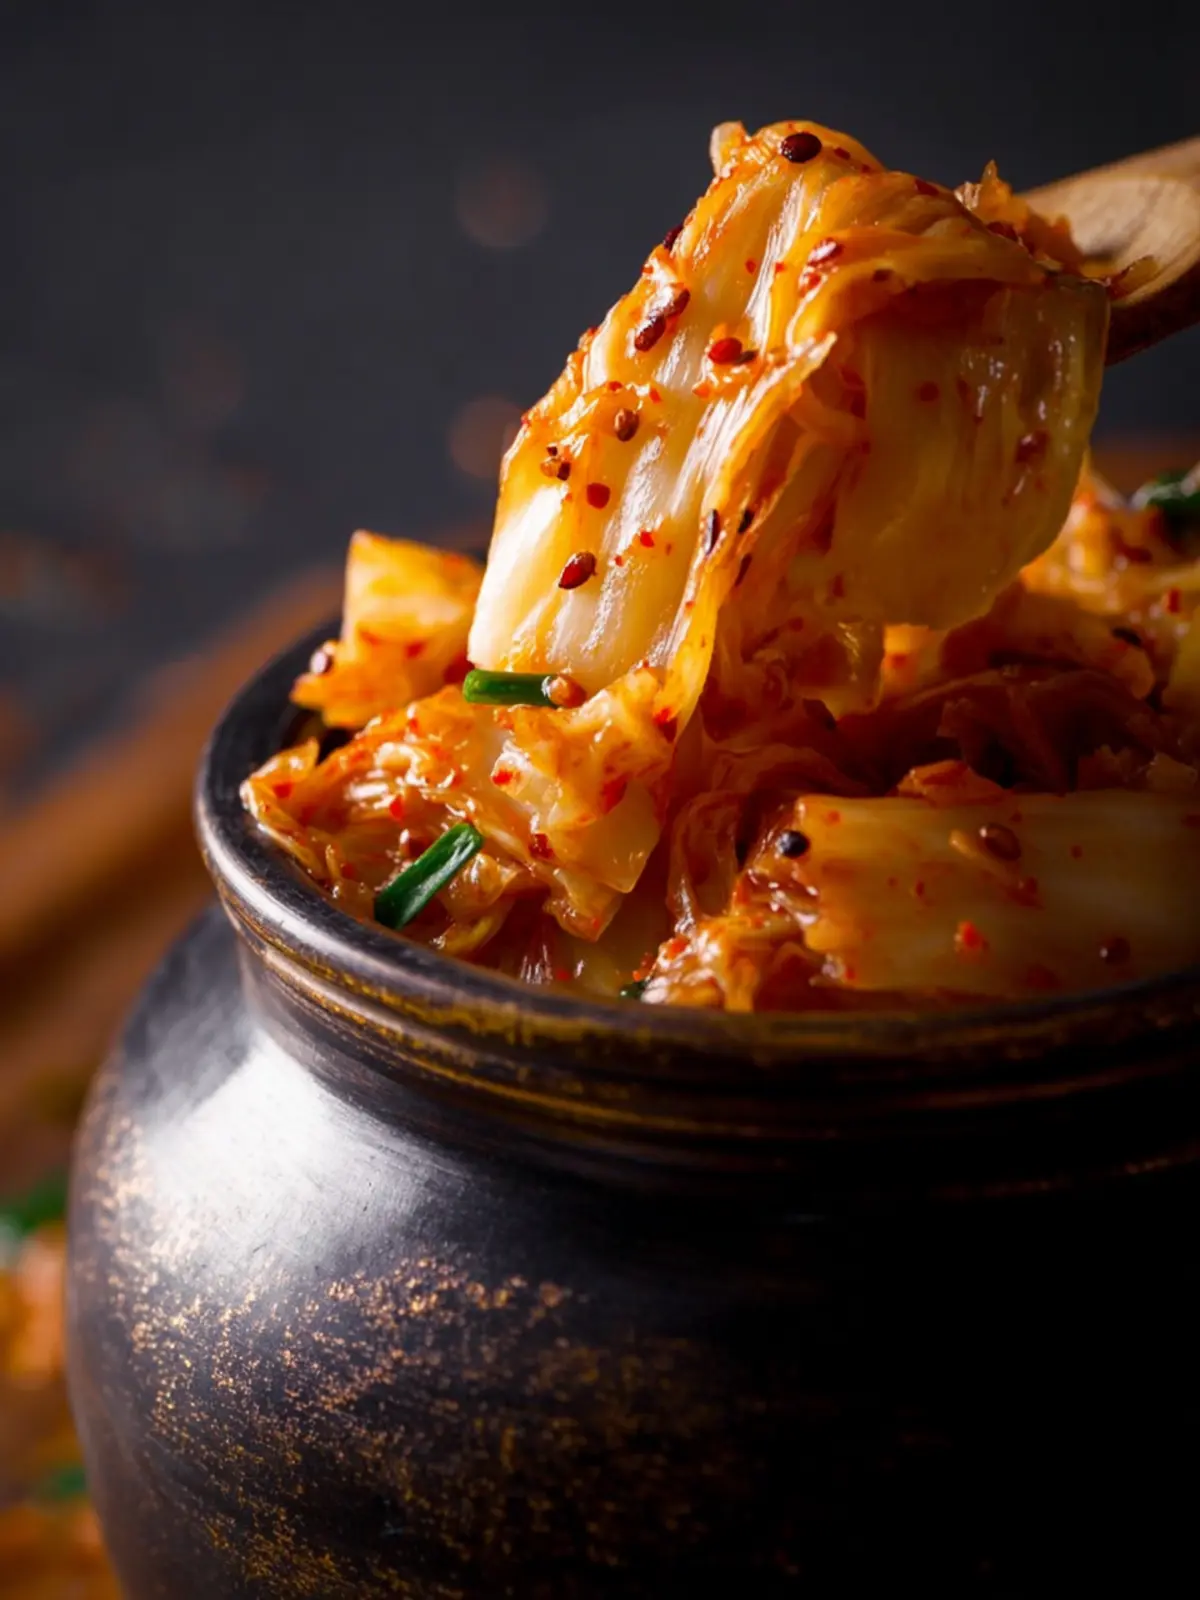
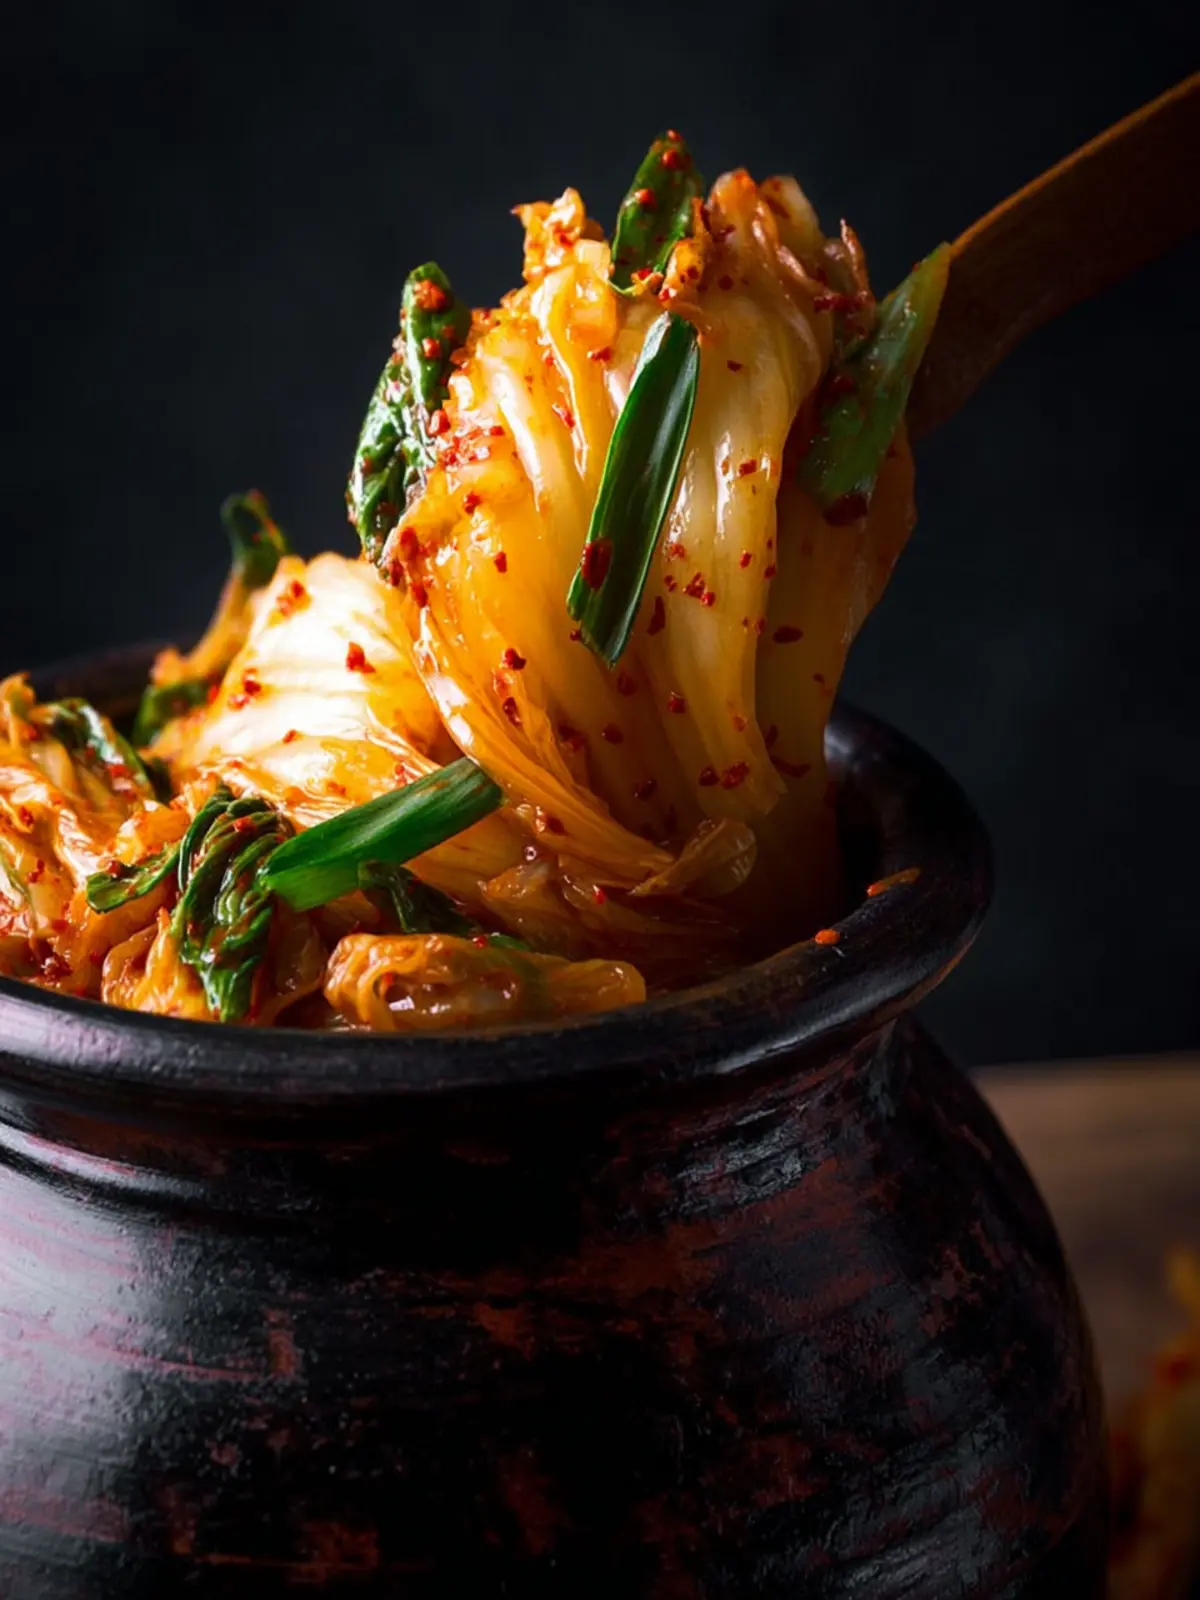
Easy Homemade Kimchi: Bold Flavors in Just 30 Minutes!
Introduction to Easy Homemade Kimchi
Creating your own easy homemade kimchi is not just about making a tangy, crunchy side dish; it’s a culinary adventure that connects you to centuries of tradition. Picture this: vegetables fermenting in a savory mixture of garlic, ginger, and chili, cultivating flavors that dance on your palate. As someone who yearns for both simplicity and flavor in the kitchen, I have discovered that making kimchi at home is not only possible but incredibly rewarding. This is a dish that invites creativity while honoring its roots.
When you whip up easy homemade kimchi, you’re doing more than preparing food; you’re engaging in a cultural ritual that has been cherished in Korean households for generations. This kimchi can be a side, a topping, or even a star ingredient in other dishes – transforming meals into extraordinary experiences. Plus, the health benefits are just icing on the cake. Fermented foods like kimchi are packed with probiotics, which support digestion and boost your immune system. And let’s not forget the aesthetic appeal of that vibrant red color mingling with crisp veggies—impossible to resist!
What makes Easy Homemade Kimchi so special?
What sets easy homemade kimchi apart is its adaptability. Unlike much of conventional cuisine, there’s no one-size-fits-all recipe. While traditional ingredients include napa cabbage, daikon radish, and a blend of spices, you can easily swap in whatever fresh veggies you have on hand. Think green onions, carrots, or even cucumbers for a unique twist that suits your tastes.
The process itself is incredibly simple and involves just a few steps:
- Salting the vegetables: This helps to draw out moisture and create the right texture.
- Making the paste: Combining garlic, ginger, and your chosen spices transforms your dish from simple to spectacular.
- Fermenting: This is where the magic happens! A day or two at room temperature allows the natural fermentation process to create that distinctive tanginess, then you can pop it into the fridge.
With just a little patience, you can enjoy the tantalizing flavors of homemade kimchi, elevated by some personalization. So, why not dive into the captivating world of easy homemade kimchi and bring something extraordinary to your table?

Key Ingredients for Easy Homemade Kimchi
Creating delicious, crunchy, and probiotic-rich easy homemade kimchi begins with the right ingredients. Here’s a breakdown of what you’ll need to get started:
Napa Cabbage: I prefer using large Napa cabbage, which offers a fresh, crisp texture and a naturally sweet flavor. This type of cabbage is perfect for fermentation and provides that signature crunch we all love in kimchi.
Sea Salt: To kick off the fermentation process, I use sea salt. It expertly draws out moisture from the cabbage while maintaining the natural taste. This step is crucial for developing the rich flavors we crave.
Daikon Radish: While optional, adding Daikon radish enriches the kimchi with a delightful crunch and a hint of sweetness, making each bite more interesting.
Scallions: Fresh scallions take the flavor to the next level. Their slight onion-like sharpness complements the other ingredients beautifully.
Garlic: Whole cloves of garlic not only add robust flavor but also enhance the aromatic base, creating layers of taste in your kimchi.
Ginger: Fresh ginger contributes warmth and depth. Its zesty notes brighten the overall profile of the fermented dish.
Korean-Style Red Pepper Flakes (Gochugaru): I’m a fan of using vibrant gochugaru for its balanced heat and stunning color. It’s a key element that gives kimchi its iconic look and feel.
Fish Sauce or Alternatives: A splash of fish sauce adds that umami depth we seek in homemade kimchi, though there are delicious vegan alternatives that serve the same purpose.
Sugar: Finally, a hint of sugar beautifully balances the salty and spicy elements, resulting in complex and mouthwatering flavors.
With these key ingredients, you’re well on your way to crafting your very own easy homemade kimchi!
Why You’ll Love Easy Homemade Kimchi
Making easy homemade kimchi is not just a culinary adventure; it’s an exciting way to bring a burst of flavor to your meals while adding a healthy twist to the table. This vibrant dish, rich in probiotics, can transform any dish from bland to bold, whether it’s tacos, fried rice, or even sandwiches. The combination of crunchy vegetables and spicy seasonings gives your palate a thrilling experience, leaving you craving more.
A Personal Touch to Fermentation
One of the best parts about making your own kimchi is the personal touch you can add. You can adjust the spice level, experiment with different vegetables, or even incorporate unique ingredients like ginger or fruit. This means every batch can be a little different and a lot of fun!
Health and Flavor in Every Bite
Did you know that fermented foods like kimchi are known to aid digestion and boost immunity? So not only does this homemade kimchi tantalize your taste buds, but it also supports your health. With a relatively simple process, you can create a product that feels gourmet.
A Versatile Kitchen Companion
Whether you’re using your easy homemade kimchi as a side dish, a topping, or an ingredient, its versatility is unmatched. You’ll discover new ways to enjoy it, turning ordinary meals into extraordinary culinary experiences. There’s just something special about serving a dish you created and sharing it with friends and family—trust me, they’ll be impressed!
Get ready to embark on a delicious journey that will not only satisfy your cravings but also elevate your meals to a whole new level!

Tips for Making Perfect Easy Homemade Kimchi
Embarking on the journey of making easy homemade kimchi is not just about fermenting cabbage; it’s about creating a burst of flavors that can transform any meal. Having perfected this over the years, I’m excited to share some tips that will take your kimchi from good to unforgettable.
Choose the Right Cabbage
Using Napa cabbage is key for that classic texture and taste. Ensure it’s fresh, as wilting or overripe cabbage can lead to a subpar result.
Master the Salt Brine
Salt is essential in creating the right fermentation. A proper brine helps to draw out moisture, creating that crunch we all love. Don’t skimp on this step; it’s crucial for flavor and texture.
Ingredients Matter
Opt for quality ingredients when it comes to your seasonings. Fresh garlic, ginger, and good-quality gochugaru (Korean red pepper flakes) elevate your kimchi. Feel free to experiment with extras like carrots or daikon radish for added flavors.
Fermentation Time
Patience is your ally. Allow your kimchi to ferment for at least 2-5 days at room temperature before moving it to the fridge. This will give it the depth of flavor that defines excellent homemade kimchi.
Taste Test
After a few days, give your kimchi a taste test. If it’s tangy and flavorful, it’s ready. If you want a stronger flavor, let it ferment a bit longer. Getting acquainted with your preferences is part of the fun!
With these tips in mind, you’ll be well on your way to crafting the perfect batch of easy homemade kimchi that packs a flavorful punch!
Time Details for Easy Homemade Kimchi
Creating your own easy homemade kimchi is a delightful experience that many eager home chefs relish. Not only is it a fun project, but the satisfaction of fermenting your vegetables is unmatched.
Preparation Time
To get started, set aside about 30 minutes for preparation. This involves washing and chopping your ingredients, so don’t rush—it’s all part of the process.
Fermentation Time
Once you’ve crafted your kimchi, place it aside to ferment for 1 to 7 days at room temperature. The length of fermentation can vary depending on your taste preferences—longer for a tangier flavor!
Total Time
Bringing it all together, the total time investment for your easy homemade kimchi includes both preparation and fermentation. Plan for roughly 1 week for a delightful fermentation experience and enjoy the rewards for many meals to come.
Nutritional Information for Easy Homemade Kimchi
Creating your own easy homemade kimchi not only satisfies your taste buds but also provides a wealth of nutritional benefits. Here’s a quick breakdown of what you can expect when enjoying this vibrant dish.
Calories
On average, a serving of this easy homemade kimchi contains about 30 calories. It’s low in calories, allowing you to indulge without guilt.
Protein
Kimchi isn’t where you’d turn for protein, but it offers approximately 1 gram per serving. While it isn’t a significant source, every little bit contributes to your daily intake!
Sodium
One aspect to keep in mind: the sodium content in your easy homemade kimchi varies based on how much salt you use. Generally, a serving can have around 300 to 600 mg of sodium. If you’re watching your sodium intake, feel free to adjust according to your taste while still enjoying the deliciousness!
This simple yet flavorful dish can easily be incorporated into a balanced diet, making it both a delightful and nutritious addition to any meal.
FAQs about Easy Homemade Kimchi
Creating the perfect easy homemade kimchi can seem daunting at first, but understanding a few common queries can make the process smoother and more enjoyable. Here are some frequently asked questions that might clear up any uncertainties you have.
How long does homemade kimchi last?
When stored correctly, your easy homemade kimchi can stay fresh for about 3 to 6 months in the fridge. It’s essential to seal it in an airtight container to prevent spoilage. Over time, the flavors will deepen and the kimchi will ferment more, which can be a delightful taste experience for many.
Can I adjust the spice level in kimchi?
Absolutely! One of the best aspects of making easy homemade kimchi is the ability to tailor it to your taste. If you prefer a milder flavor, reduce the amount of gochugaru (Korean red pepper flakes) or even leave it out altogether. Alternatively, if you’re craving more heat, feel free to add more spice or include chili powder to amp it up. Just remember, you can always add more but can’t take it out!
What can I do if my kimchi ferments too quickly?
If you notice your easy homemade kimchi fermenting faster than expected, try moving it to a cooler part of your refrigerator. An even better strategy is to taste it regularly, and if it reaches your desired tang, promptly transfer it to the main fridge to slow down the fermentation process. It’s all about finding that balance to suit your palate!
By keeping these pointers in mind, you’ll elevate your kimchi-making experience, ensuring that each batch is just right for you and your loved ones. Happy fermenting!
Conclusion on Easy Homemade Kimchi
Crafting your own easy homemade kimchi is more than just a cooking project; it’s an adventure in flavors and cultures that invites you to explore the art of fermentation. With a handful of ingredients and simple techniques, you can create a delightful batch that adds a spicy, tangy punch to any meal. Whether you choose Napa cabbage, radishes, or even a mix of vegetables, the beauty lies in your personal touch. Don’t be afraid to adjust the seasonings to suit your palate! Embrace the process, and you’ll soon find that homemade kimchi isn’t just a recipe; it’s a flavorful addition to your culinary journey.
Print
Korean Kimchi
- Total Time: 8 hours
- Yield: 8 servings 1x
- Diet: Vegetarian
Description
A traditional Korean fermented dish made with napa cabbage, spices, and other vegetables.
Ingredients
Scale
- 2 pounds napa cabbage
- ¼ cup sea salt (60 grams)
- 2 cups daikon radish, cut into matchstick strips (optional, or use carrots)
- 1 bunch scallions, trimmed and cut into 1-inch pieces
- 1 tablespoon fresh ginger, sliced (2–3 disks, peels ok)
- 6 cloves garlic, whole
- 1 shallot, quartered (optional)
- 2–6 tablespoons Korean-style red pepper flakes (gochugaru) or sub gochujang
- 2 tablespoons fish sauce (or use vegan fish sauce, shrimp paste, miso paste, or soy sauce), more to taste
- 2 teaspoons sugar (or an alternative like honey, brown rice syrup)
- 1 tablespoon glutenous rice powder (optional)
Instructions
- SALT THE CABBAGE (6-8 hours): Reserve 1-2 outer leaves of the napa cabbage and refrigerate for later use. Core and cut the remaining cabbage into 1-inch pieces and place in a large bowl with the salt and toss well. Add enough cool water to cover the cabbage and stir until salt is dissolved. Keep the cabbage submerged with a plate over the bowl and let this stand at room temperature 6-8 hours (giving a stir midway through if possible) or overnight.
- Drain the cabbage, saving the brine. Rinse the cabbage (not excessively, just a little quick rinse), drain, squeeze out any excess water, or blot with paper towels, and place it back in the bowl, adding the daikon radish and scallions.
- Make the PASTE: Place the ginger, garlic, shallot, red pepper flakes, fish sauce (or alternatives) and sugar in your food processor. Add optional rice powder. Process until well combined, pulsing, until it becomes a thick paste.
- MASSAGE: Scoop the paste over the cabbage and using tongs or gloves, mix and massage the vegetables and the red pepper mixture together really well, until well coated.
- PACK the cabbage into a large, two-quart jar (or two quart jars) or a crock, leaving 1-2 inches room at the top for juices to release. Add a little of the reserved brine to just cover the vegetables, pressing them down a bit (so they are submerged). Place the whole cabbage leaf over top, pressing down. This should help keep the kimchi submerged under the brine. You can also use a fermentation weight placed over top of the whole leaf to keep it submerged. Or a small zip lock filled with water. Anything that touches air may mold, but no worries if this happens, it is not ruined.
- FERMENT (3-4 days): Cover loosely with a lid (allowing air to escape) and place the jar in a baking dish (or big bowl) to collect any juices that may escape. Leave this somewhere dark and cool (55F-65F is ideal) for 3 days. A basement or lower cabinet in the pantry or kitchen away from appliances works best.
- EVENING OF DAY 3: Check for fermentation action or bubbles. Tap the jar and see if tiny bubbles rise to the top. If you see bubbles, it is ready to store in the refrigerator where it will continue to ferment and develop more flavor slowly. For a softer tangier kimchi, continue to ferment for 3 more days or longer.
- REFRIGERATE: After you see bubbles (usually 3-5 days), the kimchi is ready, but it won’t achieve its full flavor and complexity until about 2 weeks in the fridge.
- Maintenance: This will keep for months in the fridge (as long as it is submerged in the brine) and will continue to ferment very slowly, getting more and more flavorful.
- Serve it as a side dish: Scoop it out using a slotted spoon, place in a small bowl, drizzle with sesame oil, toasted sesame seeds, and fresh scallions. Or use it in Kimchi Fried Rice, Kimchi Burritos, Seoul Bowls, Kimchi Soup.
Notes
- For best results, use fresh ingredients.
- Adjust the number of red pepper flakes based on your spice preference.
- Make sure all vegetables are submerged in the brine to prevent mold.
- Kimchi flavor develops over time; the longer it ferments, the tangier it becomes.
- Prep Time: 8 hours
- Cook Time: 0 minutes
- Category: Side Dish
- Method: Fermentation
- Cuisine: Korean
Nutrition
- Serving Size: 1/2 cup
- Calories: 20
- Sugar: 1g
- Sodium: 700mg
- Fat: 0g
- Saturated Fat: 0g
- Unsaturated Fat: 0g
- Trans Fat: 0g
- Carbohydrates: 4g
- Fiber: 1g
- Protein: 1g
- Cholesterol: 0mg